I previously used Claude + Blender MCP for production work while I was employed at a company. Recently, as I restarted a personal project, I rebuilt the same environment—and this time, I decided to document the process.
Most reference blogs are written for Windows setups, so this post is organized from the perspective of someone actually working on macOS, in a way that designers can realistically follow.
To be honest, I’m not particularly good at 3D modeling. Even creating a single object used to take me two or three full days, and scene-level work took much longer. This approach was something I tried to compensate for those limitations and produce results more quickly.
In the end, I was satisfied with the quality. That said, running Blender on a 2020 MacBook Pro still meant accepting significant slowdowns during work.
“MCP” may sound grand, but in practice it’s simply a connection between an AI model and the 3D tool I already use. Compared to Adobe tools, Blender operates on a node-based system, which I found structurally more suitable for AI control.
The two resources I referred to most while writing this were:
https://github.com/ahujasid/blender-mcp
https://lightbakery.tistory.com/307
Installation Order
-
Log in to the Claude desktop app.
-
Check the repository mentioned above: https://github.com/ahujasid/blender-mcp
-
Install uv (macOS equivalent of the Windows PowerShell step)
Install uv. Without uvx, Claude cannot start the MCP server. Open Terminal and run:
curl -LsSf https://astral.sh/uv/install.sh | sh
After installation, be sure to reload your shell:
source ~/.zshrc
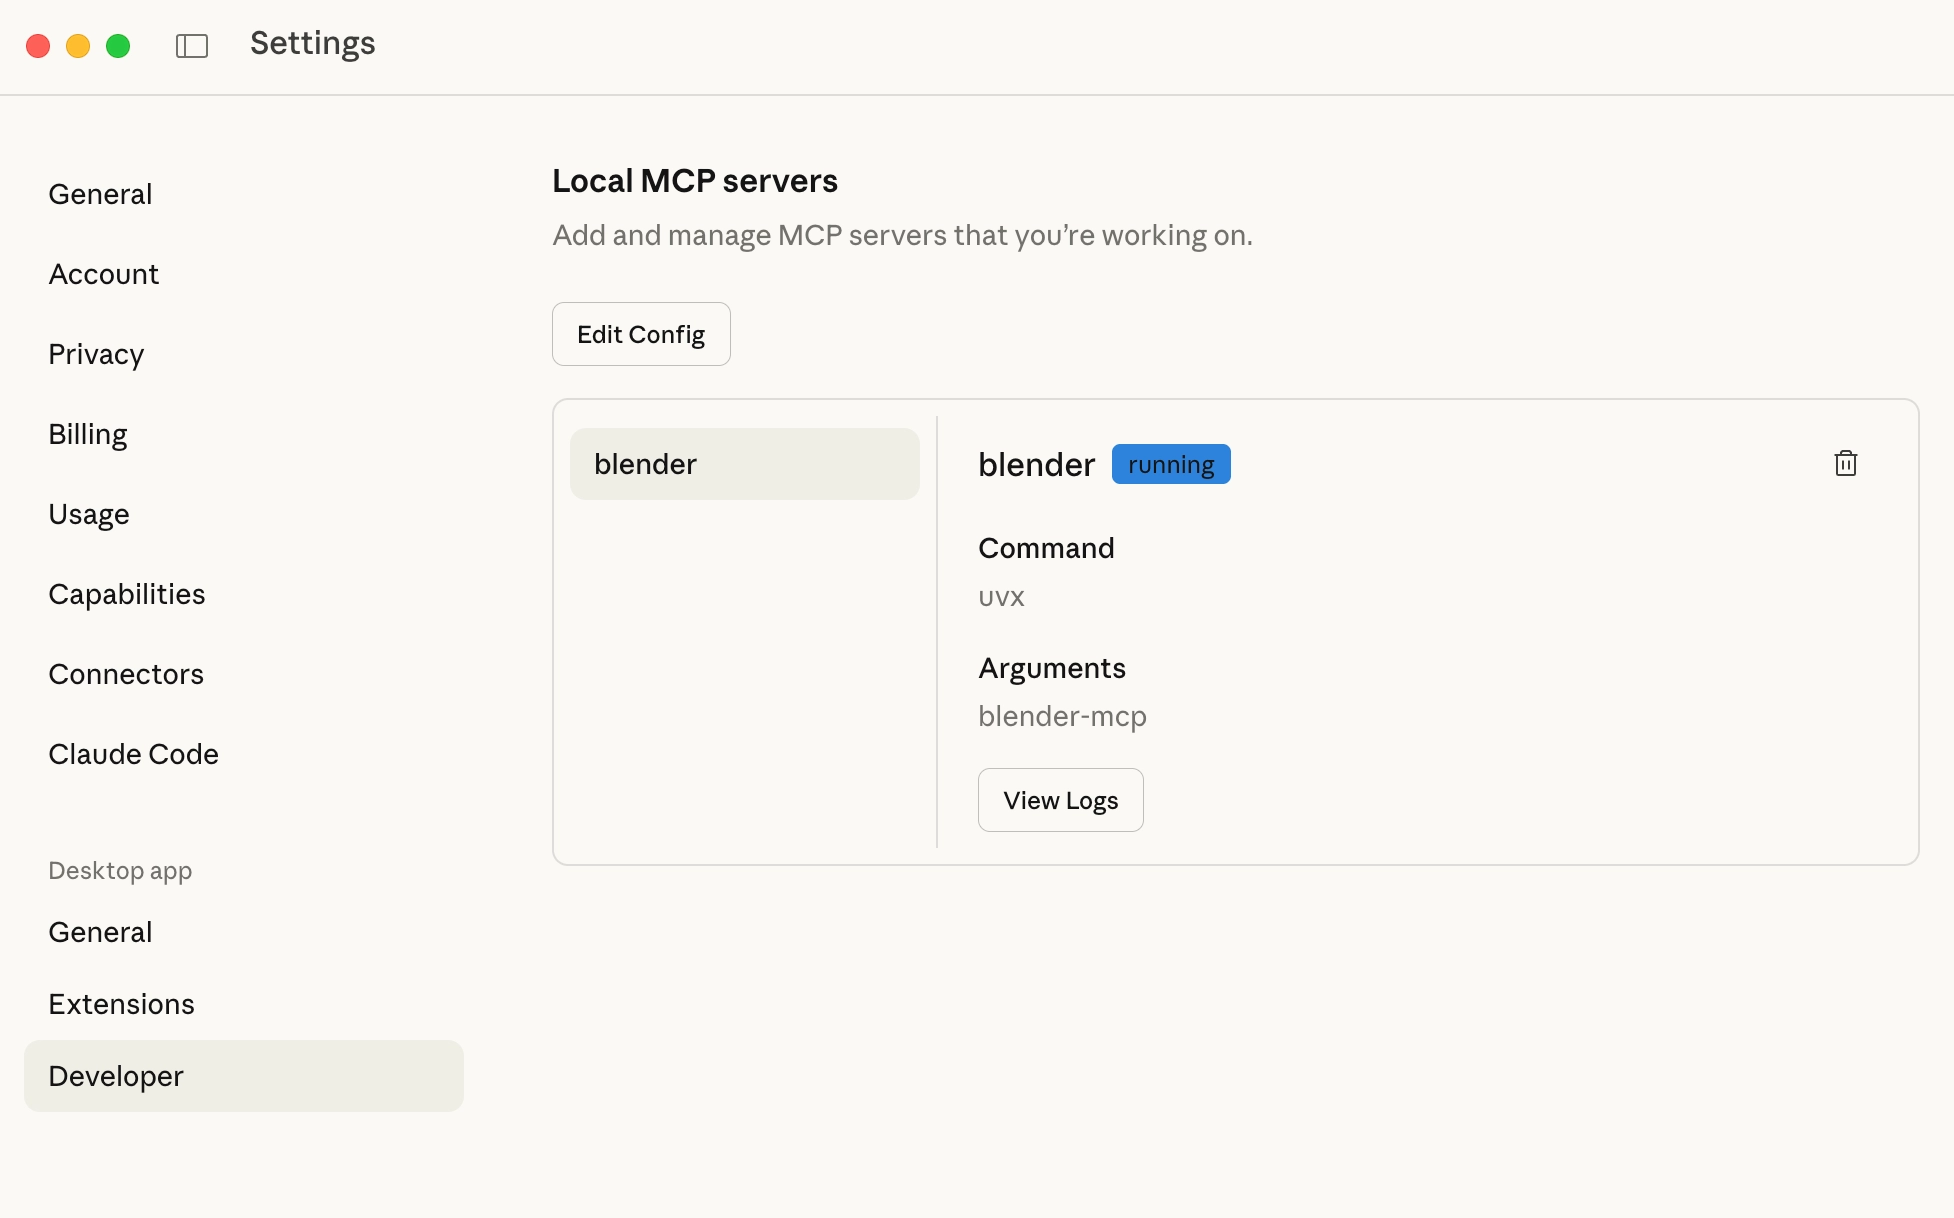
- Go back to Claude Desktop and click Settings → Developer in the top-left. A folder containing
claude_desktop_config.jsonwill open. If MCP is already configured, click “Edit Config.”
Claude Desktop Developer Settings Screen
- Paste the following JSON:
{
    "mcpServers": {
        "blender": {
            "command": "uvx",
            "args": [
                "blender-mcp"
            ]
        }
    }
}
-
Restart the app.
-
Download the Python addon file: https://github.com/ahujasid/blender-mcp/blob/main/addon.py
-
In Blender, go to Edit → Preferences → Add-ons → Install and install it.
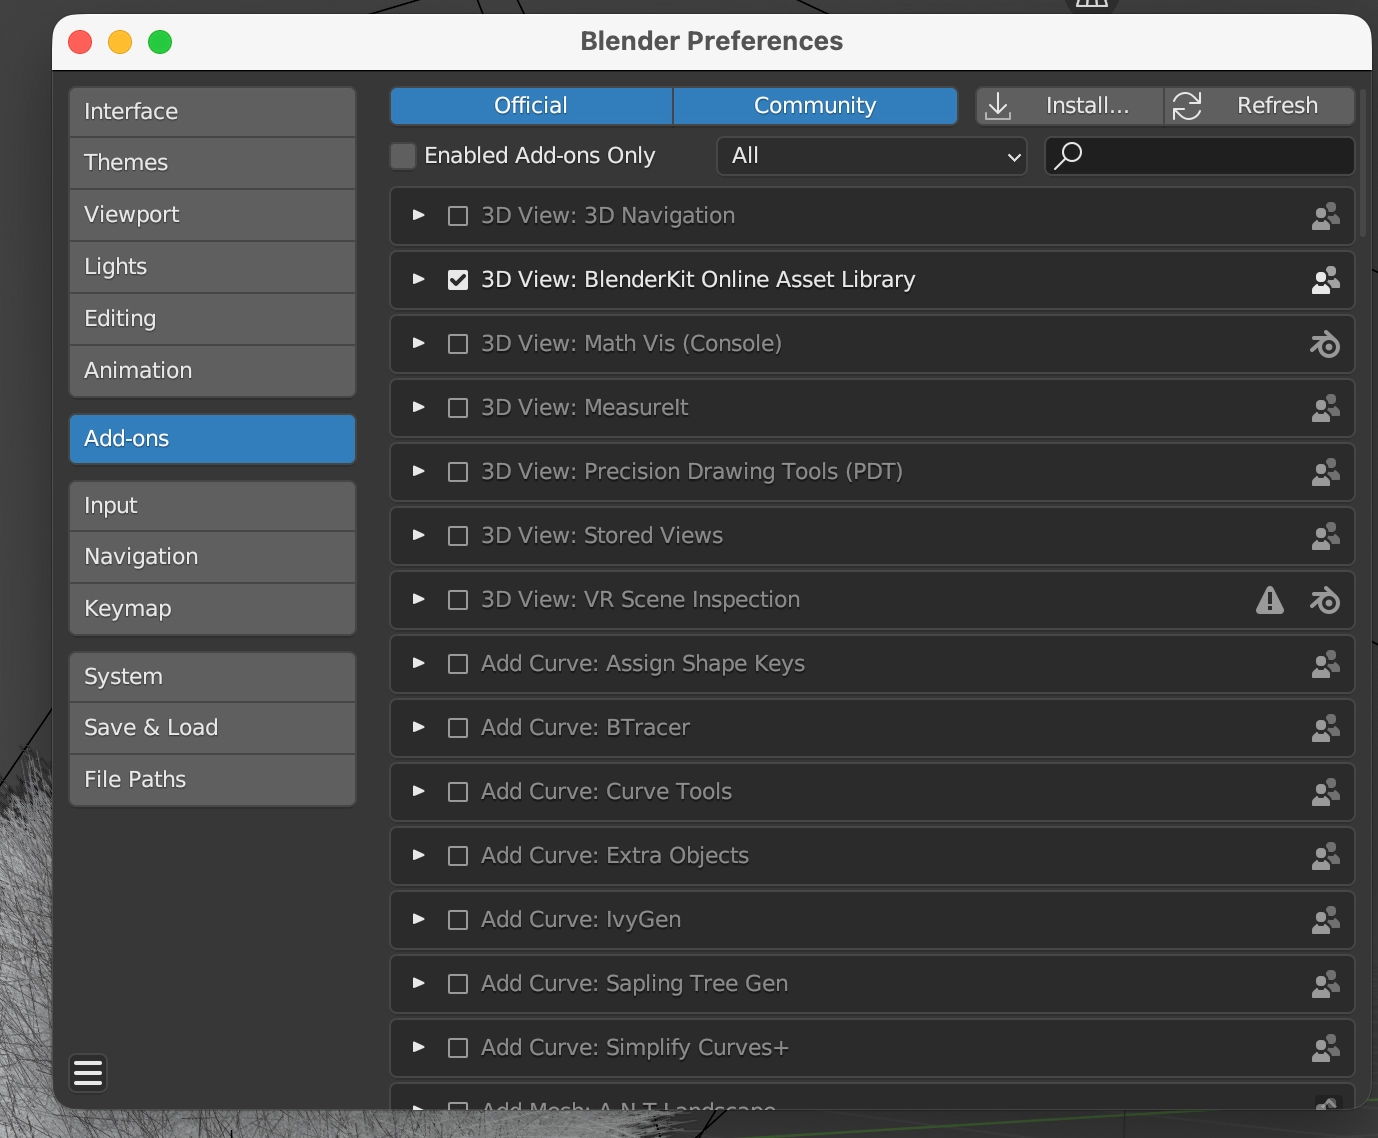
Installing the addon in Blender
- Enable Blender MCP from the right-hand panel. That completes the setup.
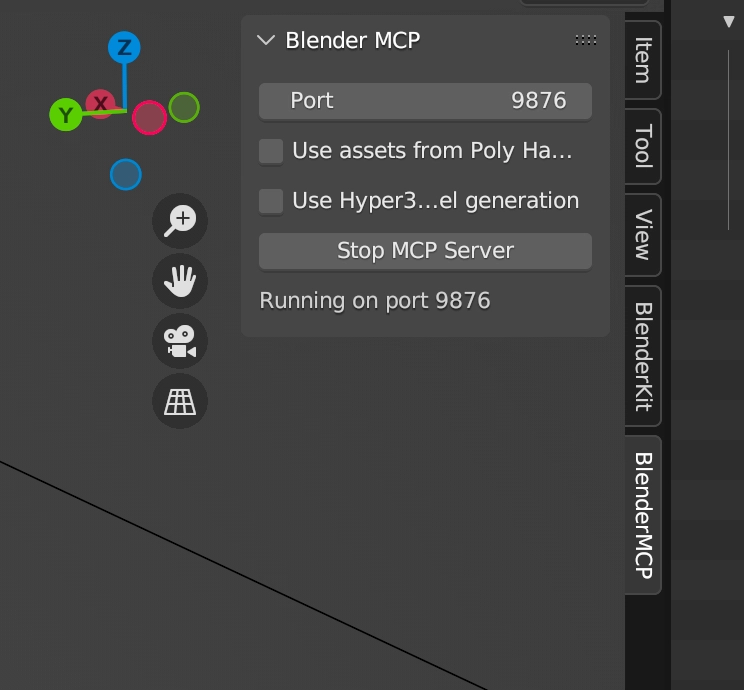
Enabling Blender MCP
- From there, I modeled by entering prompts in Claude Desktop and iterating through revisions. Providing both reference images and replacement module images helps the model understand context more accurately.
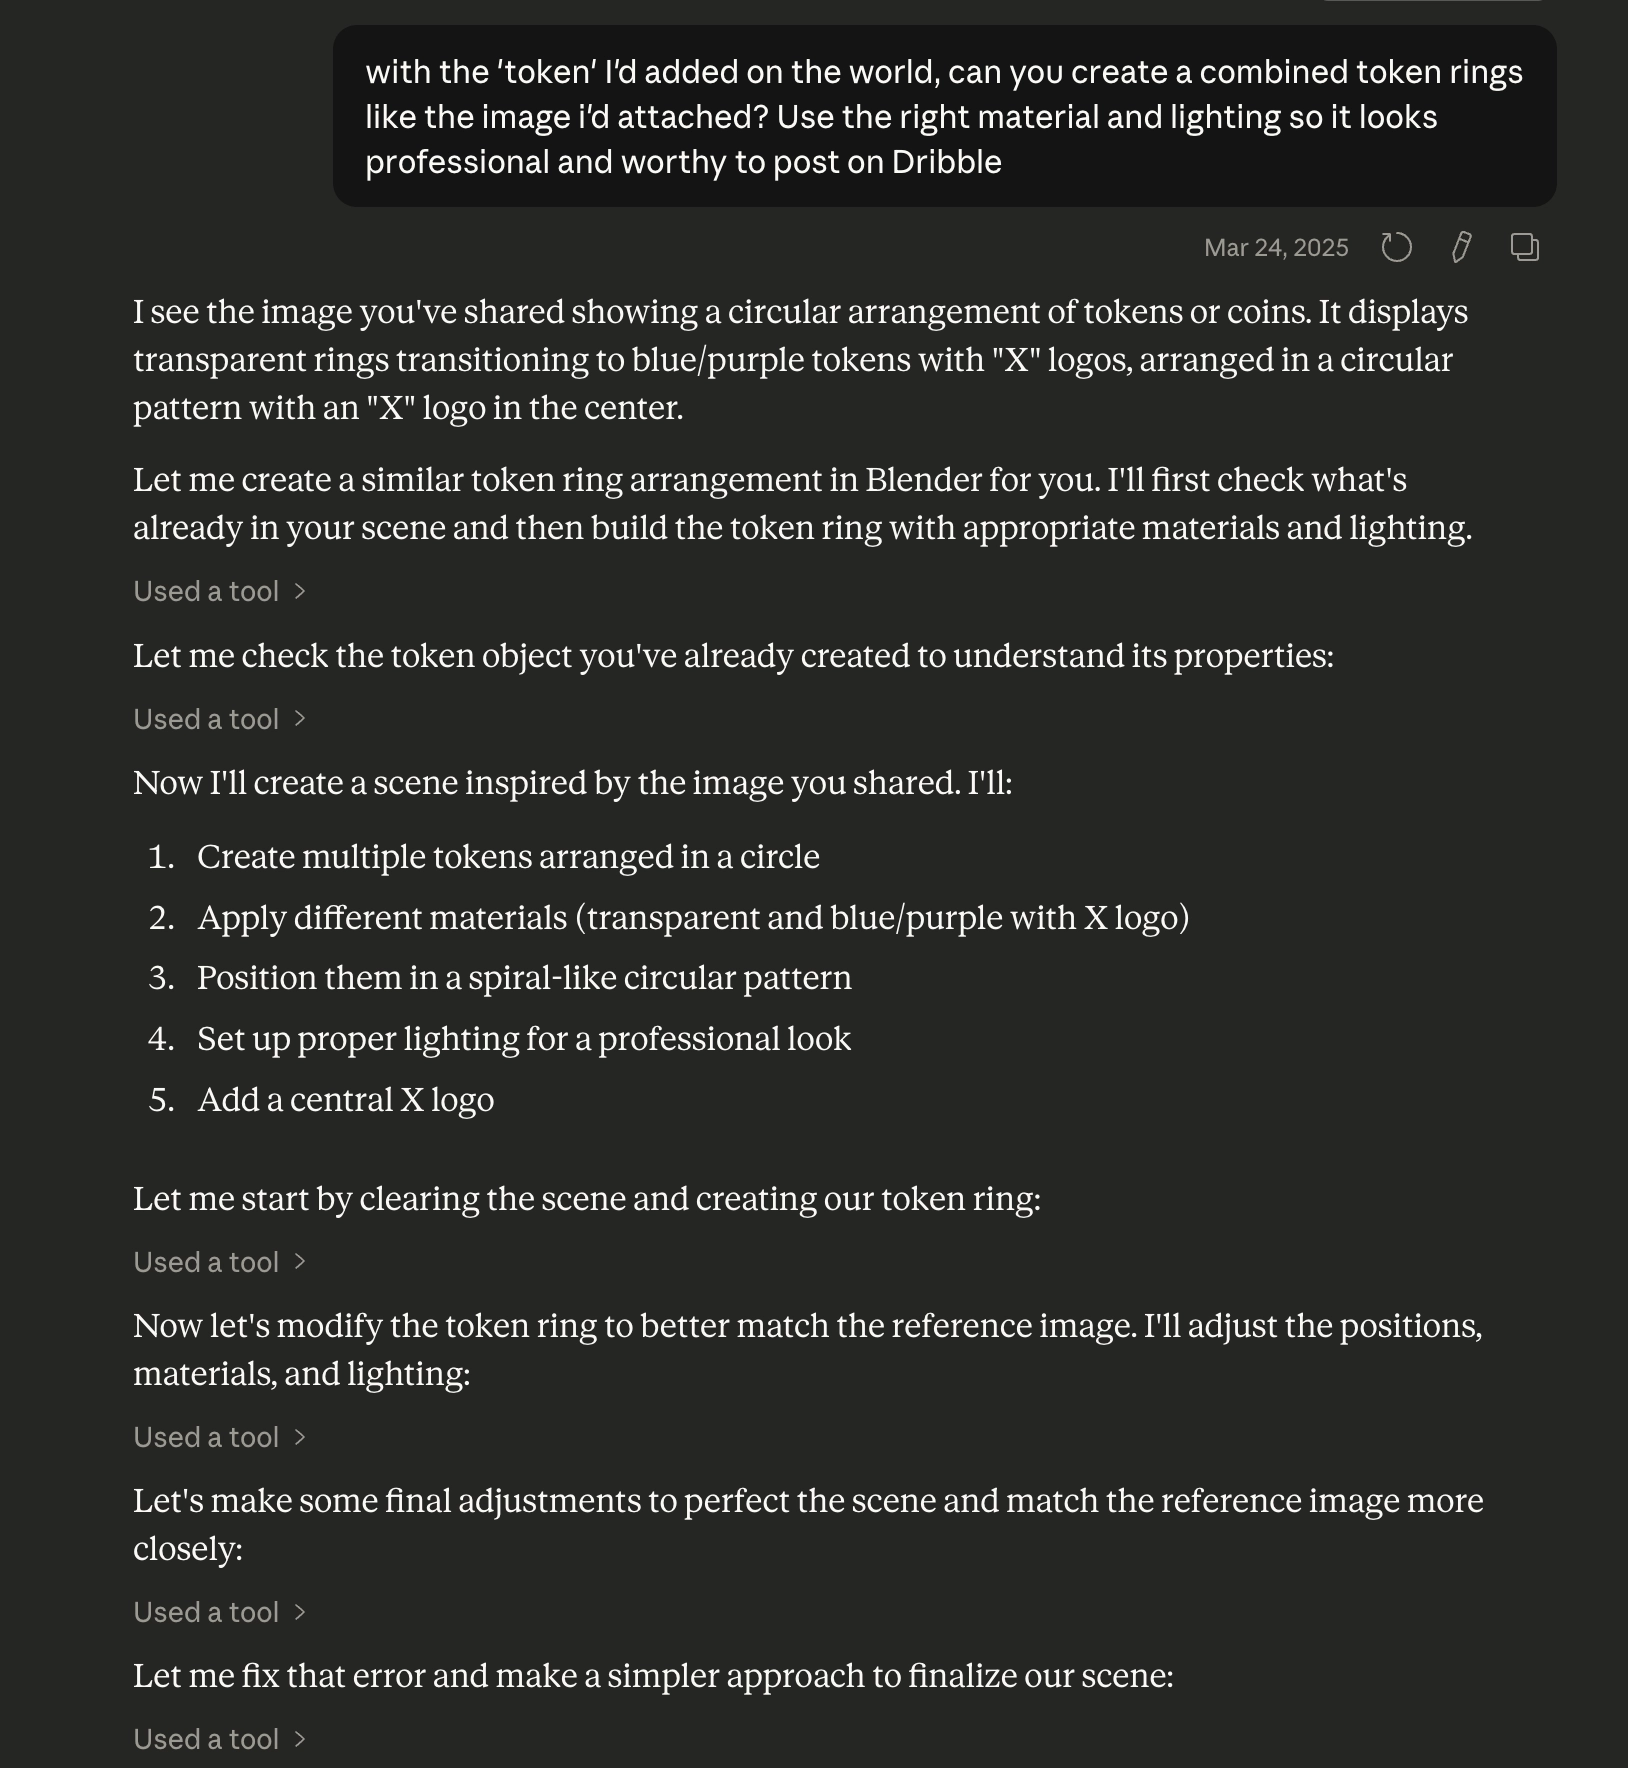
Example prompt in Claude
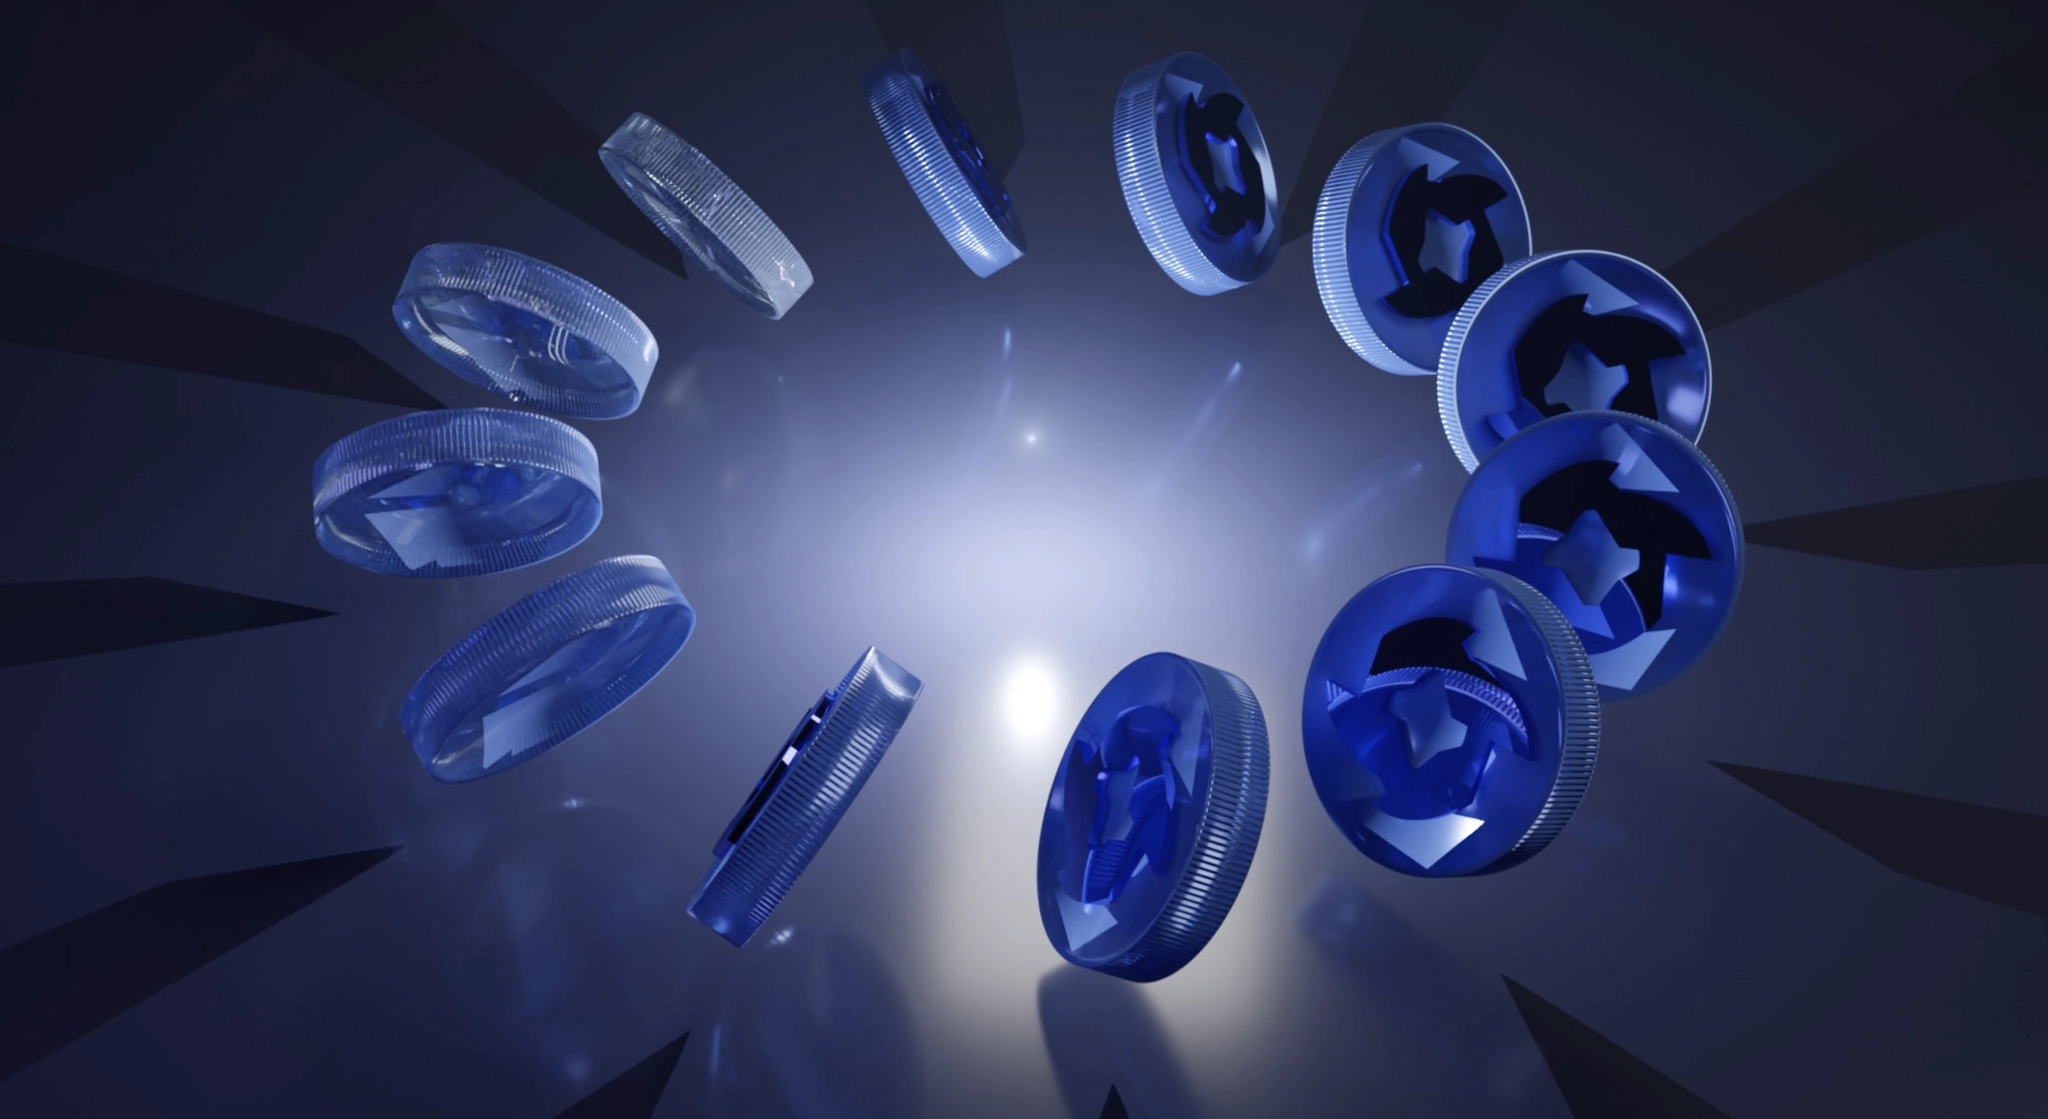
Modeling result 1

Modeling result 2
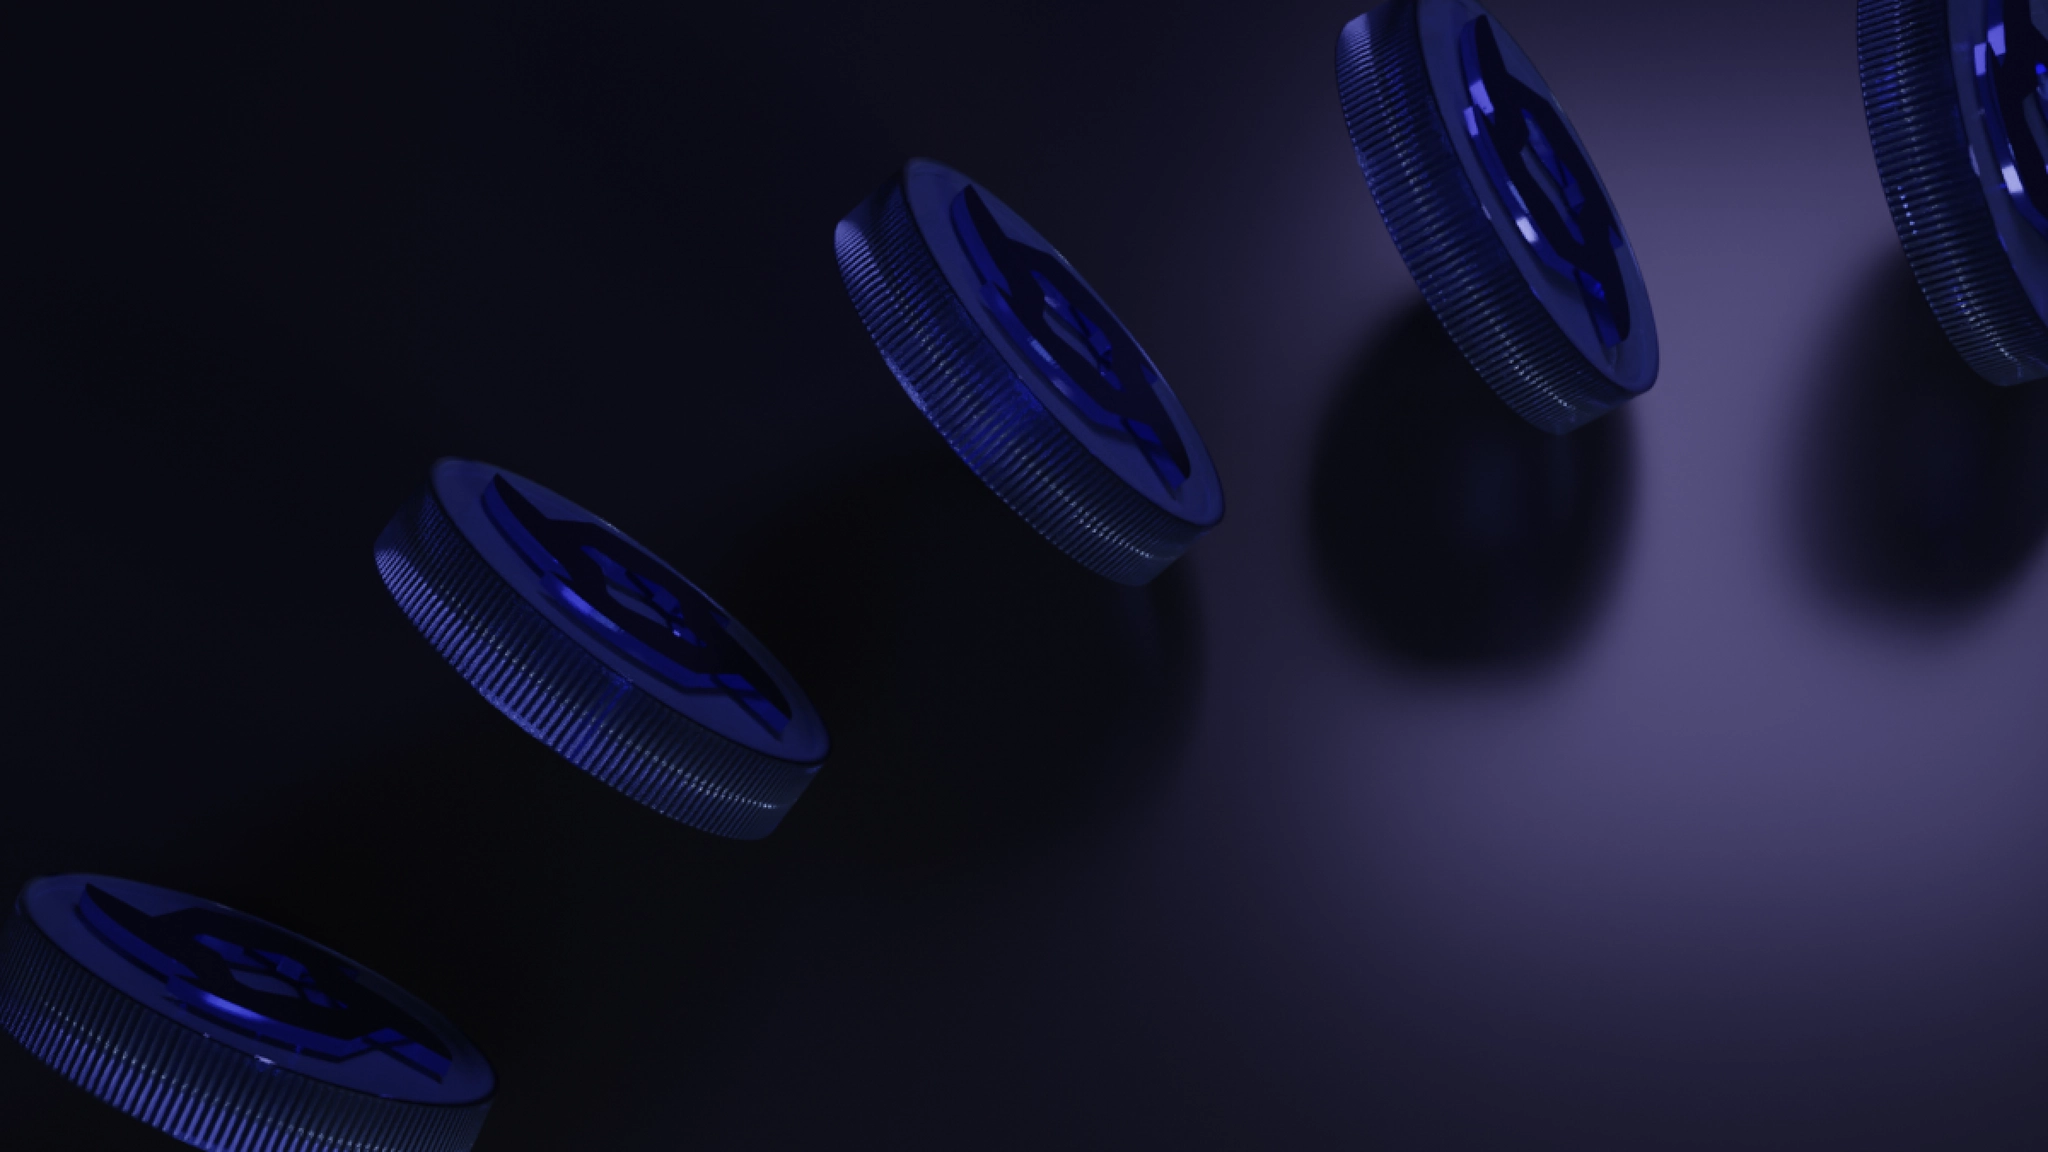
Modeling result 3

Modeling result 4
This is roughly how I used it in production.
Even before subscribing to Claude Code, I was able to achieve fairly satisfying quality, including backgrounds. Somewhere along the way, I ended up with a giraffe—but since this post isn’t about aesthetics or Blender techniques, I’ll stop the MCP discussion here.
It feels like this turned into a giraffe project by accident, but again, this isn’t about visual taste or Blender usage, so I’ll wrap up the MCP portion at this point.
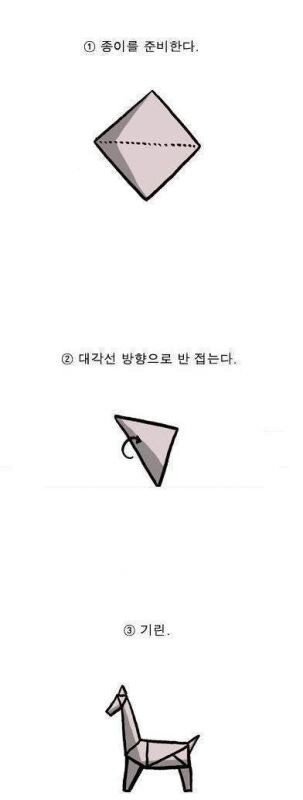
Final completed giraffe model
About the Next Project
Here’s a brief introduction to what I’m currently preparing.
This project is not an exhibition of cat images collected from around the world. Instead, it aims to reveal the layered sensibilities that different regions project onto the subject of “cats.” As a cat lover, I don’t hide my personal fixation as a private preference—instead, I transform it into an observational apparatus operating within the public space of the web.
In this project, cats are not natural objects. They are animals reconstructed as “domesticated beings” through human care and consumption, affection and control. The goal is not to critically expose that reconstruction, but to record how each cat exists as a subtle form co-produced with humans. Therefore, this work does not promise to show cats “as they truly are.” It is an attempt to follow, to the end, what kind of expression animality leaves behind after being metabolized by humans.
What I’m currently experimenting with in Blender is the following:
- Configure a ball of yarn so it appears spherical.
- Add slight furriness to yarn / wool materials.
- If possible, map a world map image onto the yarn surface in a natural way.